BlackMagic Design ATEM Television Studio Review
Jul 9, 2014 11:30 AM, Reviewer: Jan Ozer
Basic switcher offers popular features at budget-friendly price.
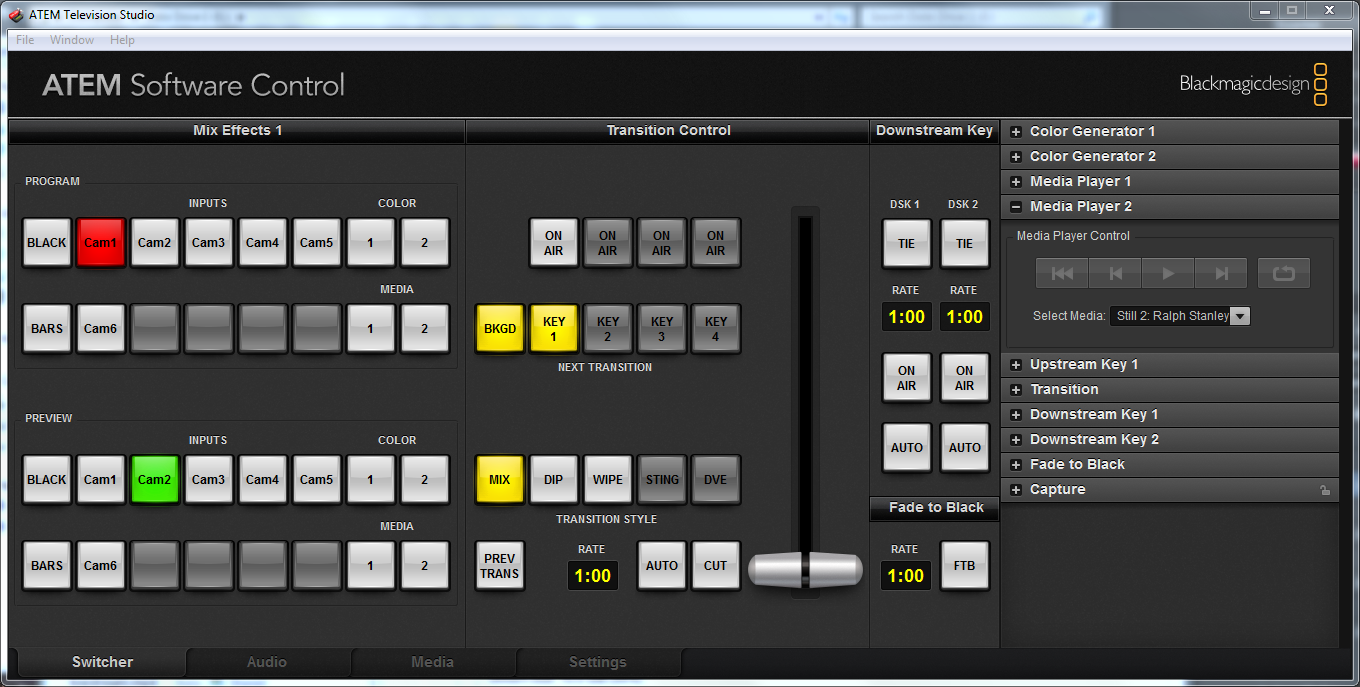
Figure 1: The ATEM software control panel
If you’re looking for an inexpensive option for switching HDMI and HD-SDI inputs, BlackMagic Design’s ATEM Television Studio, which you can find for less than $945, could be the unit for you. In my simple test project, for example, which involved live streaming of a local concert, the unit was ideal. However, while you get a lot for the price, there’s also a lot that you don’t get, so you need to assess your short- and mid-term requirements before buying this unit.
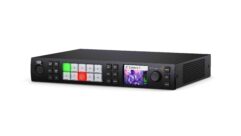
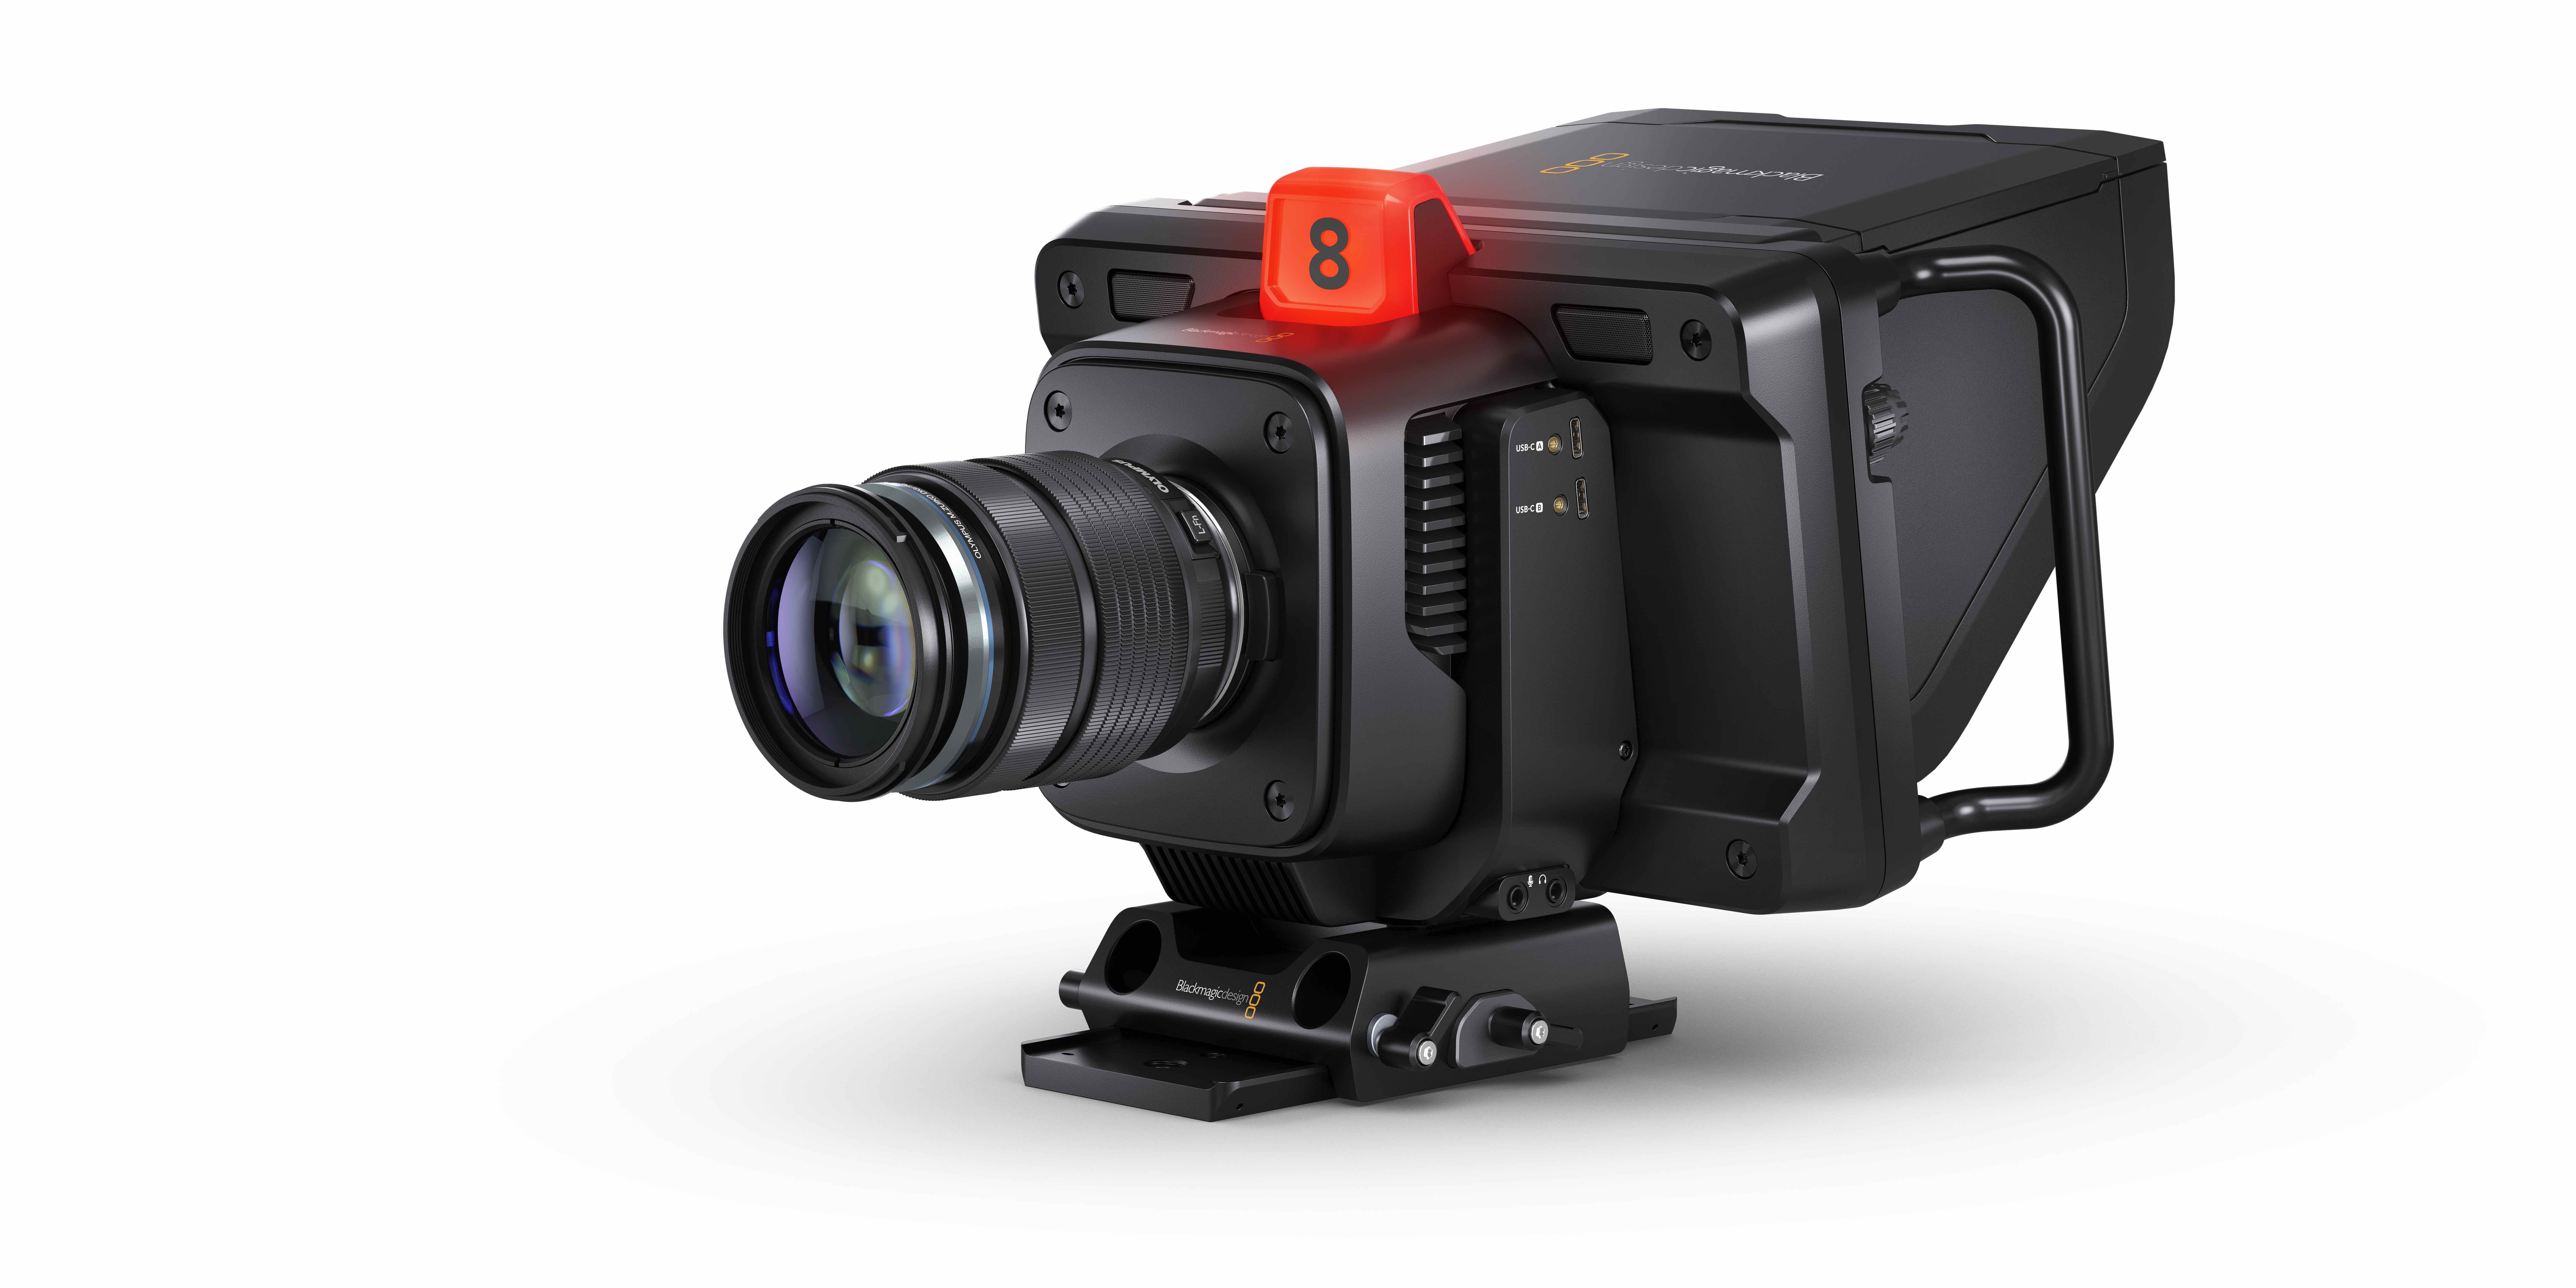
This 1RU unit is 11.75in. tall and 19in. wide, but only about 2in. deep—most of that a much needed heat sync. The ATEM has eight AV input ports, four HDMI and four HD-SDI, though two are shared (ports 3 and 4) and software switchable, so you can only connect six total inputs. There’s also AES/EBU audio input, but no analog audio. For monitoring, there are HDMI and HD-SDI multi-view displays, with output connectors for two HD-SDI program streams, an HDMI program stream, and one USB 2.0 output for an H.264 encoded version of the program stream. There are no auxiliary buses.
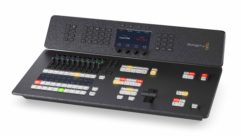
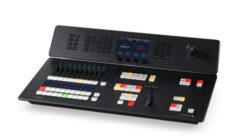
Like all ATEM switchers, you can use the Television Studio with the ATEM 1 M/E Broadcast Panel, which looks great but costs $4,745. If you don’t get the panel, you drive the mixer via a separate computer, which is how I used the system.
You connect the ATEM to the computer via an Ethernet connection. If the control computer needs Internet access, for live streaming or for general use, you’ll either have to rely on wireless, use a computer with two Ethernet ports, or bring a separate router. Since I was streaming live with my control station, I choose the second approach, using an HP Z820 for my testing and the live event.
The manual details how to adjust your Internet port’s TCP/IP setting to make the connection with the ATEM. Though I’m a networking novice, it took just a few moments to get hooked up. Otherwise, you’ll need to connect a monitor to the ATEM unit for the multi-view output, which shows the input from all cameras and media players, plus the preview and program feeds. For live streaming, ATEM creates an H.264 stream from the program feed that you transfer via a USB connection to the live encoding station. For this, I connected a USB cable from the ATEM to the Z820.
The ATEM software control resembles the control surface of a video switcher. It has four selectable tabs on the bottom of the software: one for switching video, one for audio mixing, one for managing media, and one for settings. You should start in the Settings window to set or verify the video standard, which defaults to 1080i 59.94; 1080p is not an option. According to the manual, unless your cameras or other inputs are set to the same standard, ATEM won’t see them. During my shoot, however, one camera was set to 1080i 59.94, the other to 1080p 30, and ATEM saw them both.
The two cameras were a Panasonic AG-HM150 set to 1080i to match the ATEM video standard and a Sony HXR NX5 driven by a shooter from the Virginia Folklife Program capturing the Dr. Ralph Stanley concert I was streaming. The Sony camera was set at 1080p for maximum quality. I was concerned ATEM wouldn’t see it, but it showed up as soon as I plugged it in, and I experienced no problems during the event. I asked about this, and BlackMagic responded that this often happens because the two standards use the same number of frames. Bottom line is that if you want to shoot at 1080p, say to capture the best quality video on your camcorder, you may be able to do so.
Finishing up in the settings panel, this is where you configure ports 3 and 4 for HD-SDI or HDMI. You can also name your camera inputs for presentation in the software switcher and choose among four different layouts for the multi-view monitor.
For audio, I took left and right XLR outputs off the soundboard into the Sony, which it delivered via the HDMI connection. In the audio mixer, I enabled the audio from the Sony and disabled audio from the Panasonic, a very simple solution to a simple mixing problem. For other events, you can choose to have the audio follow the video (AFV) and enable, disable, or set levels individually for each audio input.
One area where the ATEM is particularly light is in media support, though this varies by product version. The Television Studio unit I tested can only input 20 still images in PNG, TGA, BMP, GIF, JPEG, and TIFF formats, though higher-end units can accept and playback video. In the model I tested, you can present the images in full frame or as titles keyed over the background video. You can’t create titles in the ATEM; rather, BlackMagic supplies multiple Photoshop title templates that you can customize and export directly into the ATEM’s media pool via a simple export command in Photoshop. During this process, you both name and choose a slot for the still image and assign it to Media Player 1 or Media Player 2, if desired. If you’re working with more than two images, you’ll have to switch them into one of the Media Players for deployment during the production.
To summarize, in terms of inputs: You have six video and two image via the Media Players plus two configurable color swatches, a black input for fading to or from black and color bars. As you can see in Figure 1, all inputs have two sets of buttons, preview on the bottom, program on top, with transition controls in the middle, and downstream keys (DSK) on the right. Further to the right are configuration and selection options for all the inputs, plus assorted other controls.
The ATEM has no fixed memory; once you turn the unit off, all configuration options and uploaded images are lost. However, once you configure in all of your images, titles, and other custom settings, you can save them as an XML file and later input that file to restore the settings.
Although the ATEM Television Studio can perform chromakey via an upstream key, I didn’t test this function. I did overlay titles over a video via the downstream keys, which is a bit complex but well documented in the manual, and the Photoshop templates are very helpful. Traditional picture-in-picture is another function this unit can’t perform, though you can overlay one full-frame video over another using an upstream key pattern.
Basic operations feel very comfortable to anyone who’s ever run a video switcher before. That is, you click the input in the bottom row to place in the preview monitor on the left, then transition it to the program stream via the T-Bar or button controls. With the Television Studio unit tested, you have three transition types: a simple mix (dissolve), a dip (fade to a selected color), or a wipe, with a number of patterns that you can configure for border color, width, and softness. Other high-end models also support highly configurable DVE transitions, plus stinger transitions, which performs the transition with a selected clip.
BlackMagic bills the Television Studio as “The world’s first broadcast-grade live production switcher with H.264 encoding!” I’m not sure about this, but both the streaming and recording functions worked extremely well in my tests. To explain, I streamed the concert via Livestream using the Livestream ProCaster software on the Z820 to encode the stream. ProCaster immediately recognized the USB input from the ATEM unit, simplifying that operation. In ProCaster, I then chose an encoding template and started streaming.
In addition to streaming, ATEM can also record an H.264 streaming to disc for later editing or distribution. Encoding controls are basic; you can choose a template that sets resolution, with a quality slider to control data rate. I used the native progressive setting with quality boosted to the max, which translated to a 1080p stream at an average bitrate of 20Mbps. I would have liked the opportunity to boost the data rate much higher.
That said, the overall picture quality in the encoded file was excellent despite the grueling conditions, which included black-clad, white-haired musicians under bright but uneven stage lights. Even in the encoded MP4 version, the colors were very well preserved, the details crisp, and little evident noise.
Of course, this stream probably wouldn’t qualify as an ISO feed since it wasn’t in the production format (1080i); if you want a true ISO recording, you’ll need a separate hardware capture device. Again, on the ATEM model I tested, there is no auxiliary bus, so the only possible ISO output was the program feed.
Overall, for simple, high-quality switching, recording, and streaming of HD-SDI/HDMI inputs, the ATEM Television Studio is very tough to beat at sub-$1,000 price point. It’s all I would really need for the types of live events that I typically produce. Just be sure to fully assess the inputs, outputs, and production elements you require before making the purchase.
PRODUCT SUMMARY
PROS: Very inexpensive for HD input type; excellent image quality, simple operation via external panel or software
CONS: Limited audio input, limited feature set, most notably no VDO audio/video support or picture-in-picture. Need a separate computer for streaming or operation without the broadcast panel, some networking knowledge essential for some installations
APPLICATIONS: Houses of worship services, event/corporate training, and remote classroom
PRICE: $995
SPECIFICATIONS
Video inputs: 4 x 10-bit SD/HD switchable with 2-channel embedded audio; 4 x HDMI type A, 10-bit SD/HD switchable with 2-channel embedded audio. Two shared for a total of 6 inputs
Separate audio input: 1 AES/EBU audio input
Program audio/video outputs: 2 x 10-bit SD/HD switchable, 1 x HDMI type A, 10-bit SD/HD switchable, both with 2-channel embedded audio
multi-view output: 1 HD-SDI, 1 HDMI
Computer output: 1 x USB 2.0 H.264 encoded from program output. Media Express for Mac OS X and Windows included
Switcher details: 3 total layers, 1 upstream keyer, 2 downstream keyers, 3 linear/luma keyers, 1 chroma keyer, 2 pattern generators, 2 color generators, 2 media players with 2- image total pool capacity.
Dimensions:3.4”x4.5”x1.7”
Weight:0.66lbs. (0.30kg)


