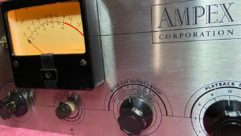
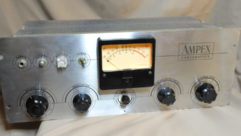
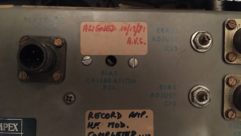
At the close of the first episode of “Resurrecting an Audio Dinosaur,” my lovely Ampex 351 tape machine channel was alive and working—though I wasn’t sure if it was working properly, or what I’d need to do to make sure it wouldn’t blow up in my face. Replacing the tubes was definitely on the menu, given the service dates marked on the rear panel, and I thought it would be a smart idea to verify that voltages to the various parts of the circuitry were correct.
It was pretty easy to find schematics, an owner’s manual, and informative threads regarding repair and maintenance of these old beasties on the web. Recognizing the age of the components, I expected that some of them would be out-of-spec, which could result in less-than-optimal audio performance and (more importantly) out-of-range voltages in the power supply.
While snooping around the 351’s power supply I noticed that one of the rectifiers—the components responsible for converting AC voltage to DC for supply to the tubes—was an old selenium type. The photo at the head of the article shows this rectifier after it was unmounted from the side panel. Hmmm… Somewhere in the dark corners of my brain, near where I filed the number of tribbles that fell out of the grain compartment in “The Trouble With Tribbles,” there was a distant memory about selenium rectifiers. I vaguely recalled rebuilding a Dynaco PAS 3 preamp where a selenium rectifier had to be replaced.
Searching the web for info yielded an incredibly helpful tech paper called “Replacing Selenium Rectifiers” by Rich Bonkowski. It turns out that this type of rectifier doesn’t age well: the DC voltage supply gradually deteriorates, they are prone to catching fire, and failure is imminent. Yikes. Luckily, this rectifier was easily replaced with two 1N4004 diodes, which I wired on a tag strip and connected between the power transformer and the power supply circuit board (see photo below). I also replaced the 6×4 rectifier tube used to supply high voltage for the audio tubes.
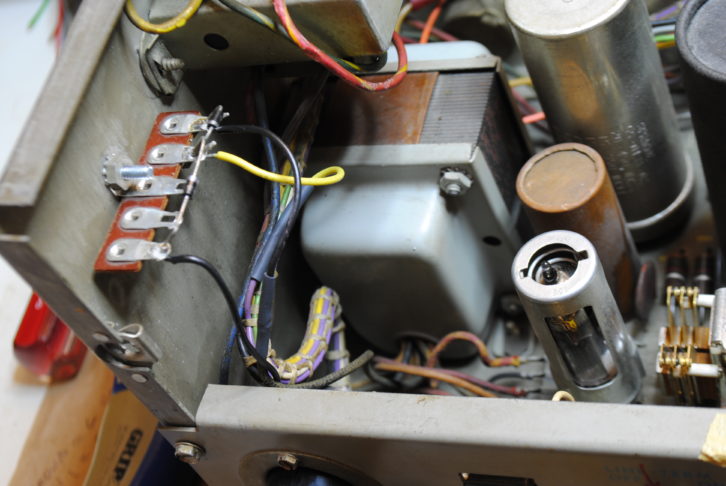
Bonkowski warned that replacing a selenium rectifier with new silicon diodes could create a problem. The new diode rectifier would be more efficient than the old rectifier, so there was a good chance that the voltage to the tube filaments would increase beyond the 12.6 volts DC specified on the Ampex 351 schematics. Anticipating this, I found a measurement point on the power supply board and attached a volt meter to it. When I turned on the 351, the filament voltage went up to 14.7 volts—way too high. This supply runs through a power resistor that’s used to trim the voltage down; I’d need to find that resistor on the power supply board and change it. I turned off the 351 and went to Pino’s for a slice of pizza.
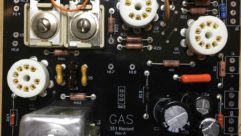
The power resistor was easy to find. You can see it at the lower right hand corner in photo 3. Changing it, however, was going to be a royal pain in the arse. It would require disconnecting all of the individual edge connectors from the PCB (printed circuit board), unmounting the power supply board, removing the old resistor and replacing it with the new one, then reinstalling the PCB to check the results. I thought about replacing all of the components on the power supply board with new ones, but that was going to be problematic. One of the components was an old ‘multisection capacitor”—a single can enclosure that actually contained multiple capacitors of differing values. You can see it at the top left in the photo below with the number “8” penciled on it. Good luck trying to find a replacement.
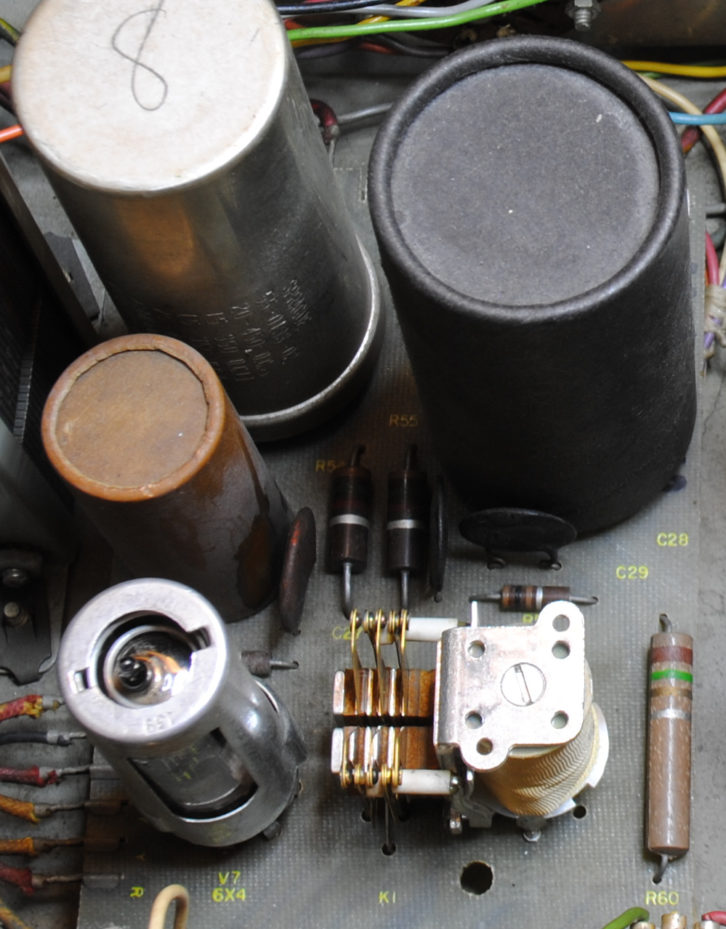
A few weeks later when I had a clear head and some free time (there’s an oxymoron), I searched the web for similar restorations and found this thread on the Polk Audio Forum. Apparently, I wasn’t the only nut who wanted to refurb an Ampex 351. A company called GAS Audio Recording Equipment manufactures new replacement PCBs for the three main circuit boards in the 351: the power supply, the record circuit, and the playback circuit.
Aside from the fact that they are brand spanking new and fit the exact footprint of the original PCBs, they do away with the multisection caps and use terminal blocks to secure the wiring instead of edge connectors. GAS even provides a bill of materials for ordering the components from Mouser. I may not know a ton about electronics at the component level, but I do know that a stable and clean power supply is vital to good audio. I decided that I’d replace the old power supply PCB with a new GAS PCB, then rebuild the old playback and record boards using new components.
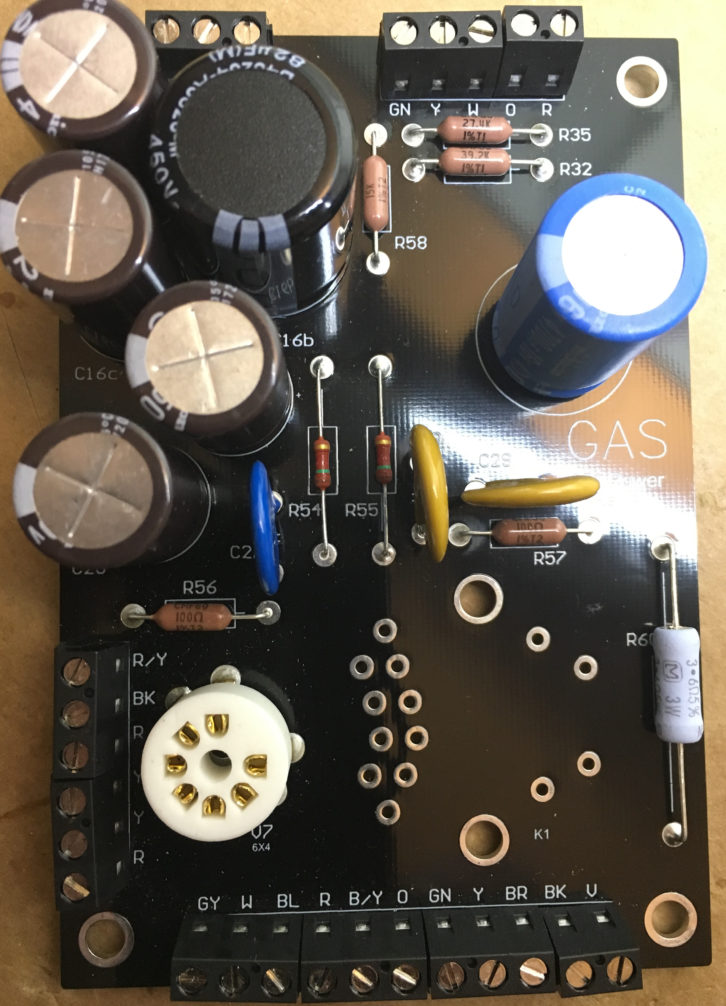
The photo above shows the power supply PCB with new components installed. I loved the fact that I’d be able to connect the wires using terminal blocks, but hated the idea of snipping off the original clip-on connectors and stripping the wire. Fortunately, the insulation was intact and healthy—no cracks or breaks anywhere. I populated the GAS power supply board (including a new ceramic tube socket with gold-pated pins), with the exception of that power resistor. Calculations using Ohm’s law revealed that a 3.6 Ohm power resistor would provide the requisite voltage drop (a far cry from the 1.5 Ohm resistor used on the old PCB). I ordered resistor values ranging from 2.7 to 3.9 Ohms just in case. I soldered in the 3.6 Ohm resistor, installed the new power PCB, and bingo! The tubes were receiving 12.5 volts DC—a hair on the low side, but close enough for rock and roll.
There’s one component on the original power supply board that bears mention: the record relay. This relay is required if the 351 is to be used as part of a tape machine but is not required if the unit is to be used as a mic preamp. A faulty relay can change the HF response of the audio path, so I elected to omit the relay and store it in a safe place.
I tested the unit again in the studio and it worked fine. But I wasn’t yet finished.


