Not a very original title, but tools are necessary to build AV systems. And the right tools make the job go smoother and faster—not to mention maintaining quality. This article will showcase some basic tools and test equipment that I use regularly and always need. Part 2 will get into more exotic items.
Hand Tools
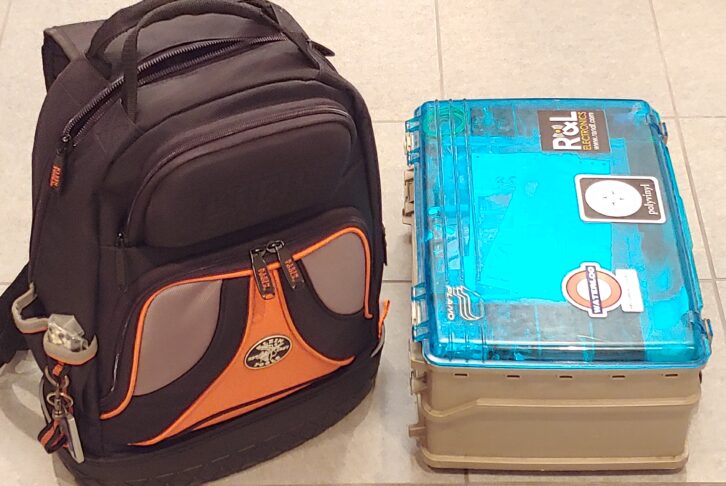
I started carrying around a Platt briefcase-style tool kit with internal palettes sometime in the 1980s, and eventually needed a secondary case for parts and more tools. Bear in mind that I was installing systems, and also doing circuit-level troubleshooting and repair. Over the years I’ve switched cases, shuffled tools around, and eventually ended up here. The Klein backpack style case has a solid, waterproof bottom and is a nod to the occasions when I cannot use my (incredibly great) Norris handcart. Fig. 1a and opening photo
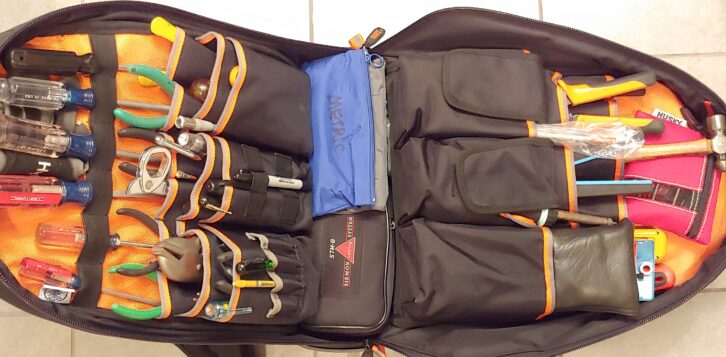
These days circuit repair is rare, though I still carry a few resistors and other parts that might be useful in a pinch (like to make a DMX or intercom terminating plug). I cannot even remember everything that’s in these cases, but, honestly, I use the same handful of tools for 90% of installation and wiring work. Fig. 2
The screwdrivers are pretty self-explanatory: #2 Philips for rack screws and most others; #1 for smaller screws; narrow straight-blade for D-sub connectors, small screws, turning and prying. I use only flush-cutting pliers for cutting and stripping wire and cutting plastic or thin metal. I’ve used 5” Xcelite cutters (like the S475JS) for decades but have recently sent some back because the flat sides weren’t truly flush. For trimming the ends of cable ties, flush cutters are the only way. Anything else leaves stubs and sharp ends that will bite you later!
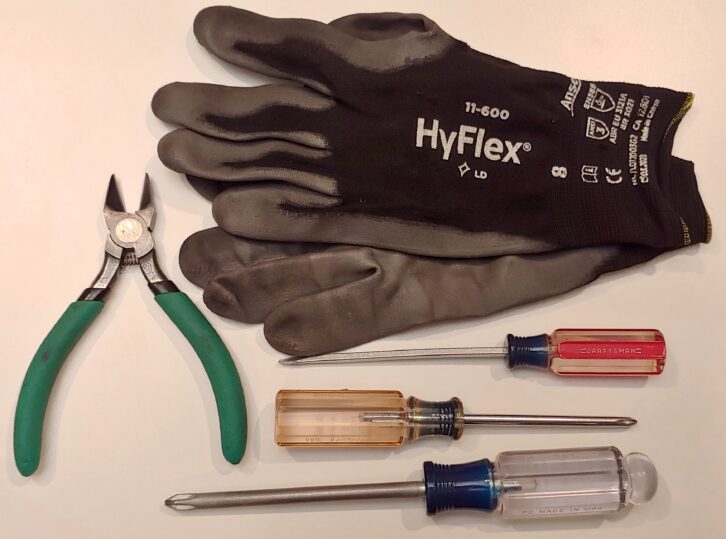
My other go-to for any work is a pair of Ansell HyFlex 11-600 gloves. An electrician turned me on to these years ago. If you’re tired of having beat-up hands, they offer good protection for pulling cables and unpacking boxes but are thin and flexible enough for detail work. Once broken in you can turn screws, solder, and pick up small parts easily. Trust me, these are not like work gloves you’ll find at Home Depot, and they’re ridiculously cheap.
Stripping wires and crimping connectors are the most common tasks after running cable, apart from soldering. I usually strip individual wires with flush cutters (it takes a bit of practice) but if I’m doing a lot of ends, like for an audio snake, I use the snap-action strippers from Ideal. Once you get the hang of choosing the right hole size, and keeping the wires in the holes, they are incredibly fast and accurate.
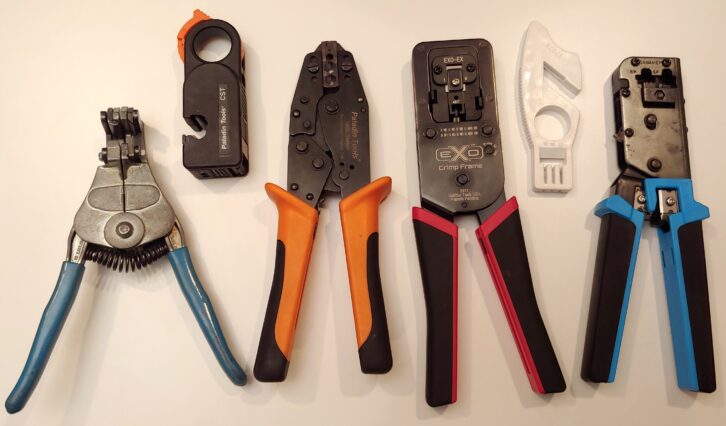
Putting on BNC connectors is a tricky matter because there are so many variations in connectors, cable types and tools. BNCs must match the center conductor gauge and outer diameter, and the tools must be sized and adjusted accordingly. With the right combination it is fast and easy to make perfect 3-level strips and crimps using high quality coax (like Belden 1505A or 1694) and connectors (such as Kings or ADC). Slight variations may be needed for thinner plenum-rated coax, though not always. It’s sad to see someone whittling away at a cable, or trying to crimp with pliers, so take the time to get these things right.
Ethernet cable ends are tricky in different ways. It can be difficult and tiring to untwist the individual pairs for insertion into the connector, and it’s important to match the crimper to the plug being used. A friend turned me onto the little Belden 1797B stripper, which has a blade for scoring the jacket, and a pointed separator for untwisting (with a bit of practice). I prefer Platinum Tools RJ45 plugs that feed the wires through the front, and usually use their matching crimpers. If the protruding wires are not removed completely, flush cutters will do the trick. Fig. 3
The next level of tools I wouldn’t be without includes vice-grip pliers, which are indispensable for grabbing and turning stripped screws, holding parts for soldering in a pinch, and squashing things (like if a BNC pin must be crimped and the right tools aren’t around). And of course other types of pliers (slip-joint, needle-nose, Channel-lock), adjustable wrenches, larger cable cutters, etc.
Flashlights, headlamps, inspection mirrors, and the like need no explanation. Neither do a wide range of allen (hex) keys, square drive bits, and other odd drivers. I even have a kit of “security” bits with tips for three-sided Philips, spanner heads, and those weird screws used in bathroom stalls. You never know, right?
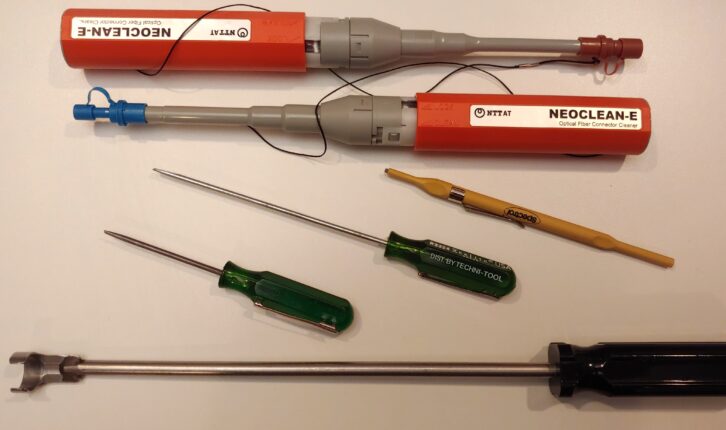
Anyone coming from broadcast engineering will recognize “greenie” screwdrivers and insulated “tweakers” necessary for making adjustments on trimpots, poking DIP switches, etc. And if you’re working with BNC patch panels, especially mid-size jacks, a small-head BNC tool is essential.
I generally stay away from fiber optic cable termination but do carry cleaning tools for the connector ends. The self-feeding push-click style is easy and foolproof. Fig. 4
Lastly, one indispensable “hand” tool is a power drill/driver. There are lots of options for this, but I am incredibly happy with my old DeWalt 14V model. It has an amazing amount of power for being fairly light and has been dropped many times without damage. This seems to be a case where endless “improvements” haven’t really made the newer models any better!
Test Gear
As I’ve written elsewhere, I’m a test equipment nerd–always have been. Over the years I have acquired a large collection of test gear, from the mundane to the slightly strange. I spend money on these things because I really want to know what’s going on in my systems—especially when something goes wrong—and still use all of it from time to time.
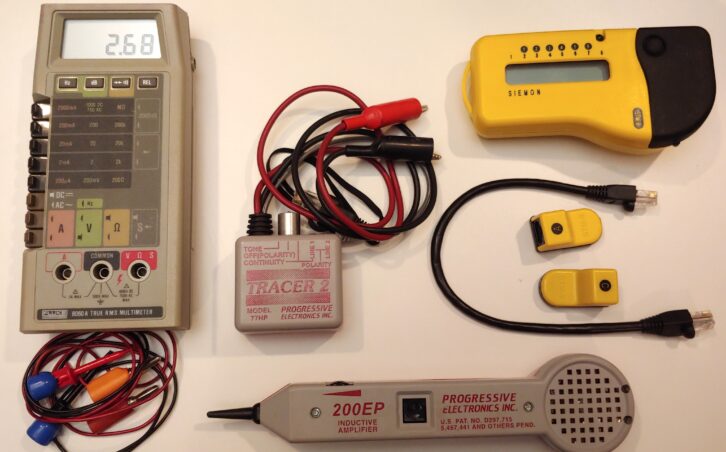
When I did mainly analog audio work and circuit-level repair, my most valuable tool was a Fluke 8060A digital multimeter for measuring voltages, component values and semiconductors–the “granddaddy” of Fluke meters at the time. It also measures frequency in the audio range and is highly accurate, so I still carry it in my main kit (inside one of those Shure microphone zipper bags that tend to get tossed in a drawer).
Also on hand all the time is a “toner” test set which puts a warble tone on one end of a wire so that the far end can be located using an inductive audio pickup. This device is invaluable when labeling has been lost, or the exact location of a cable is unknown. It can save hours of agony.
Because I terminate CAT cables on site, my main kit includes a basic tester for checking conductor continuity and correct pin position. This particular model allows four different cables to be checked sequentially with four different “remote” dongles. Fig. 5
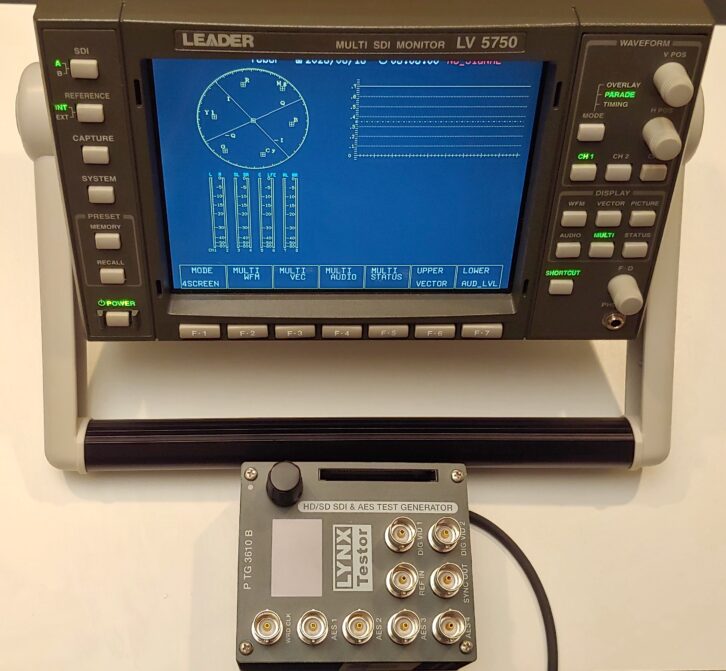
Analog video gear includes generators and a waveform monitor/vectorscope for composite and component signals which were dominant until the 1990s. These days it’s the SDI generator and scope that get used, though the ones in the picture–that cost a bundle at the time– are limited to 1.5Gb signals (1080i/p@30fps). Fortunately, the Cardinal 4K HDMI test set I got a few years ago can handle higher frame rates. (https://www.svconline.com/products/reviews/cardinal-hdmi-test-set-review)
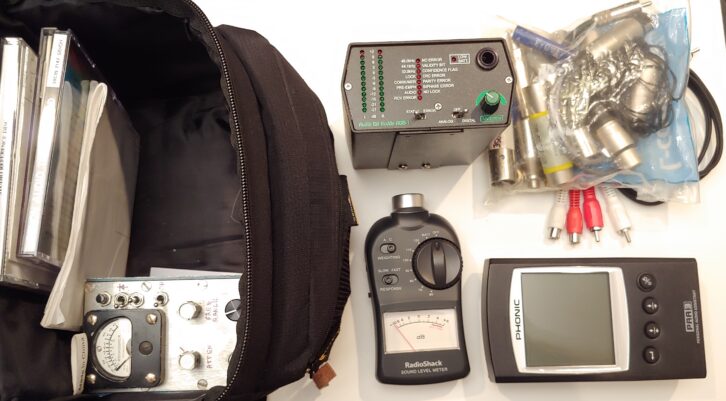
On the audio side I keep signal generators, analog/AES level meter, digital and analog SPL meters, and a mess of adapter cables in a kit for easy use. You can laugh at the Radio Shack SPL meter, but it gets the job done. I’ll add that the Phonic PAA3 works fine now, but was nearly impossible to get fixed when it malfunctioned. Can’t recommend that brand.
An important point about audio testing is the need to hear the signal, which is often more revealing than looking at a meter. Many audio operators carry the Whirlwind QBox audio tester, which is handy, but most of my testers have a headphone output (including the SDI and HDMI gear that disembeds audio) so I keep earbuds in all the cases. Fig. 6a and 6b
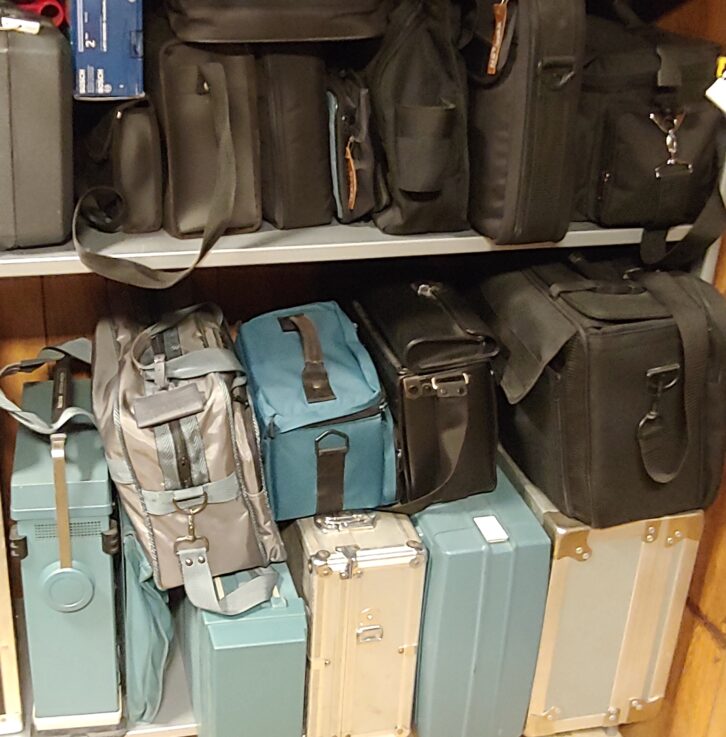
I’ve had great luck finding camera bags and other cases to protect and carry this stuff. As with tools, over time I’ve shuffled less-used gear to the back, acquired new, and repackaged as needed. An old mentor taught me to keep power supplies, cables, adapters and manuals with the gear so it’s always ready. Ironically, despite all that, sometimes I still don’t have the right gadget at the right time!