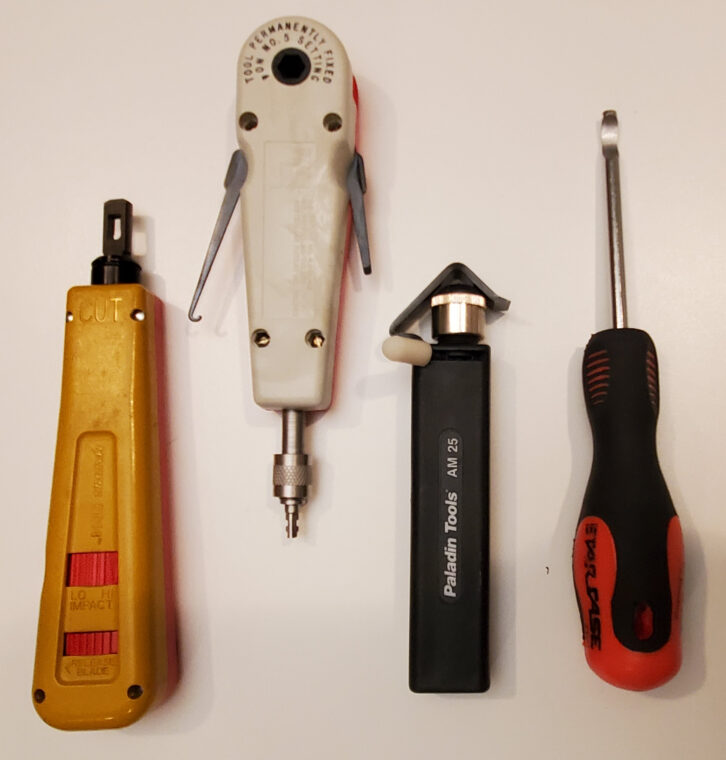
This installment of Tools is mostly about test equipment, but first a few other invaluable hand tools. Over decades many types of terminations that don’t require soldering have come into use. A very familiar type is the “110” terminal, which is found on the back of network patch panels and wall jacks. The 110 followed the 66 terminal, which was used primarily by the analog phone system and is still found in telco closets and equipment rooms. Similar terminals, like the Krone, are less common in the U.S. For professional audio, the QCP style from ADC (and similar types) is quite common for patch panels and large interconnects. It is critical to have the correct punch tools for all of these terminals in order to make a stable, gas-tight connection. Fortunately, different blades can often be used with the same handle. (See Need to Know: Serial & Telco)
I prefer using jacketed multi-pair cable for analog audio. It’s easy to handle and dress (plus handy to have an extra pair or two already run). For a long time, removing the jacket was a haphazard process with razor blades, pocketknives, and lots of cursing. This clever tool has a sharp nib that can be rotated to cut the jacket around the cable or slit it down the length. An absolute lifesaver for removing long pieces of heavy jacket on any cable!
Working with IT-style equipment racks that have square rack rail holes can be a real pain if you’re using “cage nuts” with a threaded screw hole. There’s a nifty tool that makes installing and removing cage nuts much easier and faster. Fig. 1
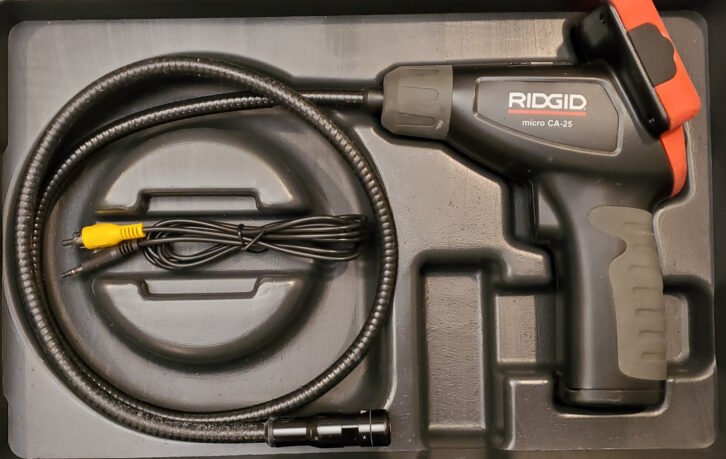
Lastly, one day at Home Depot I spontaneously bought a Rigid flexible in-wall camera which has turned out to be quite handy (and surprisingly robust). It takes some practice to interpret what you see, and adjust the light level for best image, but I only wish it was longer. Fig. 2
More Test Gear!
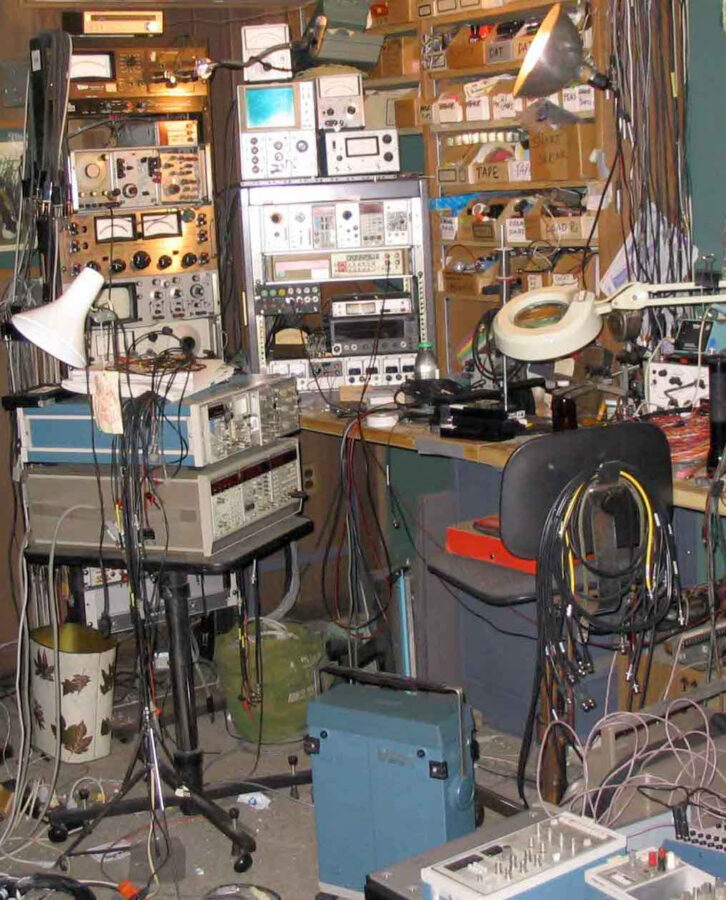
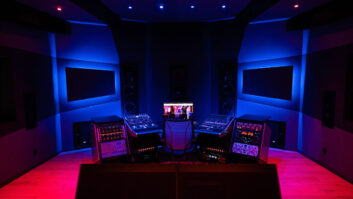
My earliest job, of sorts, was doing tech for a small music recording studio (using 4-track tape initially). I was truly a beginner, learning as I went, and fortunate to come across a mentor of sorts who was a brilliant circuit designer and a test equipment fiend. John was most active in the days of analog audio and video, extending into early digital, before his untimely death in 2007. But he left his mark (and also a giant mess). Fig. 3
He spent big money on the test equipment needed to support his work maintaining audio and video facilities and building custom electronics. I was intrigued by all that gear and inspired to acquire my own over the years, though not as lavishly.
In Tools Part One I discussed basic test gear like the Fluke DMM, tone tracer set and CAT cable tester, an SDI video signal generator and waveform monitor, and various audio testers. These are pieces I use regularly, along with an HDMI generator and analyzer (see Review: Cardinal HDMI Test Set )
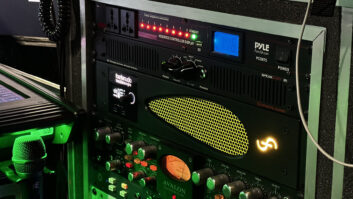
Another truly basic piece of gear is an oscilloscope. For those who aren’t familiar, an oscilloscope lets you visualize an AC signal by showing frequency on the X-axis and voltage on the Y-axis of a display. For example, you can see and measure an audio signal, including some types of distortion (the photo shows a 1KHz sine wave).
In the 1980s, when I worked in video postproduction, the facility owned a Tektronix 2465A 4-channel analog scope. It was serious gear and beyond my means. I could get one today for a few hundred dollars, but don’t really need it now. The classic Tek 465 that I bought at a HAM Radio fest is enough for occasional use with audio and data signals (below 100MHz).
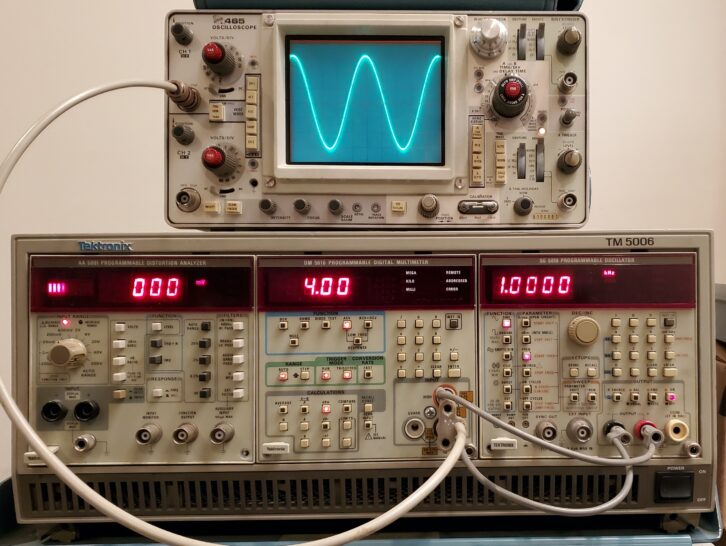
Beneath the scope is John’s Tektronix TM5000 frame with plug-in modules for audio testing. Since digital files replaced tape, I don’t use this much either, but it retains a place of honor in my shop. It’s providing the audio tone shown on the scope (1kHz at +4dBm).. Fig. 4
Getting a bit more exotic is a TinySA spectrum analyzer (and accompanying software) that’s handy for observing wireless mics, CATV, and other RF signals. The TinySA has limitations but allows me to have some of the capabilities that cost my friend John tens of thousands back in the day (see Review: TinySA Spectrum Analyzer).
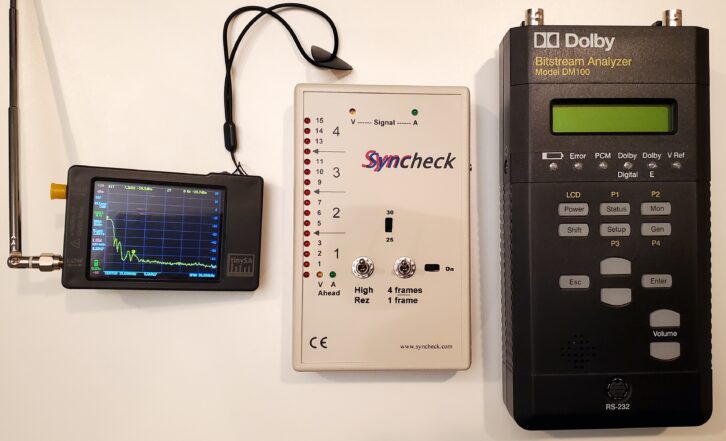
Going even more specialized is a Syncheck, an odd little device for checking audio-video lipsync. This is important when setting up audio suites used for mixing video programs. The Syncheck comes with digital files that produce a beep and synchronous picture flash on the system under test, and then compares their timing on a handheld meter. When used correctly it can show if audio is ahead or behind video, and by how many frames.
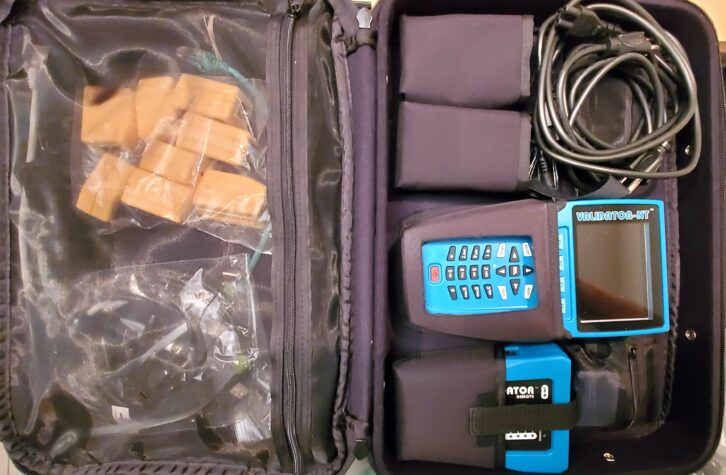
Some years ago, I was hired to redo the network wiring for a client and needed to confirm the work. I built the cost of a modest network validator into the price of the job, knowing I would continue to use it to verify cable path speeds, up to 1Gb, and create test logs. Plus it has eight remotes for testing continuity and pin position. It would be nice to have one now for 10G and higher, but they’re still rather expensive. Fig. 6
In 2023 I bought a used Sekonic C700 colorimeter. This meter reads both light levels and color temperature and shows a graph of the light spectrum it sees. This can be important because today’s LED-based devices (which includes the backlights of LCD displays) do not produce light that’s concentrated in a narrow band, or uniform across the spectrum. They tend to produce an output with spikes at various wavelengths (as do fluorescents). It’s a bit of an indulgence, but I want to know, empirically, what is going on with studio lights and video monitors, not have to guess. In Figure 7 the meter shows the spectrum of a random household LED bulb.
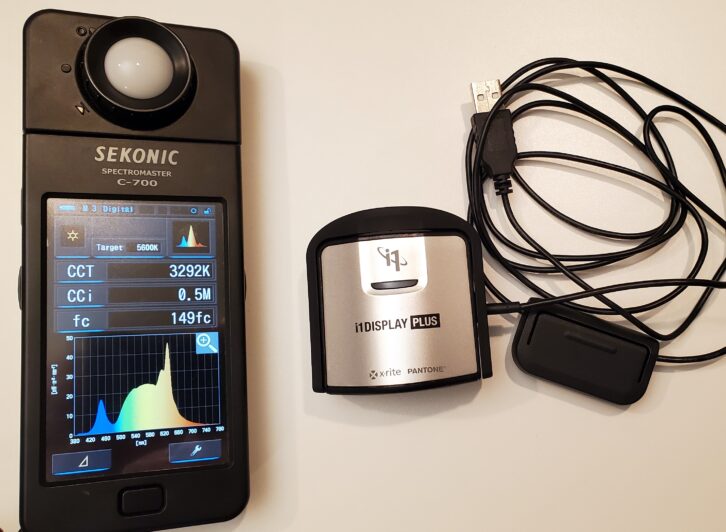
This is not the same as a color calibrator, like the x-rite i1. The calibrator is used with software to adjust a display’s parameters so that what’s on the screen matches a standard reference color space, such as CCIR709 or sRGB. It can also be used to help match multiple displays with each other, and to match displays with print output. Fig. 7
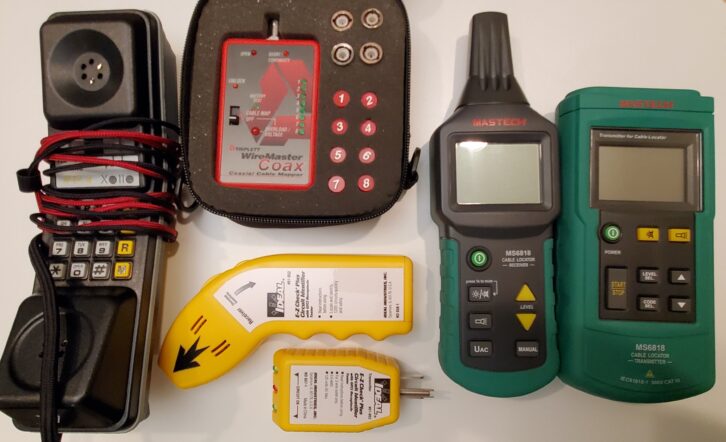
Lastly, a few miscellaneous devices that aren’t used very often. These include a classic analog telco “butt set” tester, a coax cable identifier with multiple dongles, an AC tone tracer (for identifying live branch power circuits) and a buried cable tracer. I bought the last to locate the fiber optic cable outside my house that kept getting cut in digging accidents, despite calling the utility marking company. Although the service is fiber, the direct-burial cable has a metal tracer wire, which is how it can be found using induction. Clever! Fig. 8
Okay I admit it, I like gadgets in little cases. I’m a test equipment gearhead. But some of the work I do would be more difficult, if not impossible, without it.